2717 Views
 June 21, 2024
The iOS ecosystem is known for its stability, performance, and high-quality standards. That’s why the apps developed for this platform often have a strong market presence and user engagement. The potential for innovative and impactful software is immense, whether you’re considering building a new social media platform, an educational tool, or a gaming app.
Swift programming is the core reason behind around 2 million applications on the App Store. Performant app creation, adaptable frameworks, and interoperability make it developers’ favorite tool for creating applications that Apple users love.
If you want to launch an Apple app or tap into the iOS app development industry, Swift is the first and foremost component to get familiar with. Let’s get started.
Why Choose Swift for iOS Development?
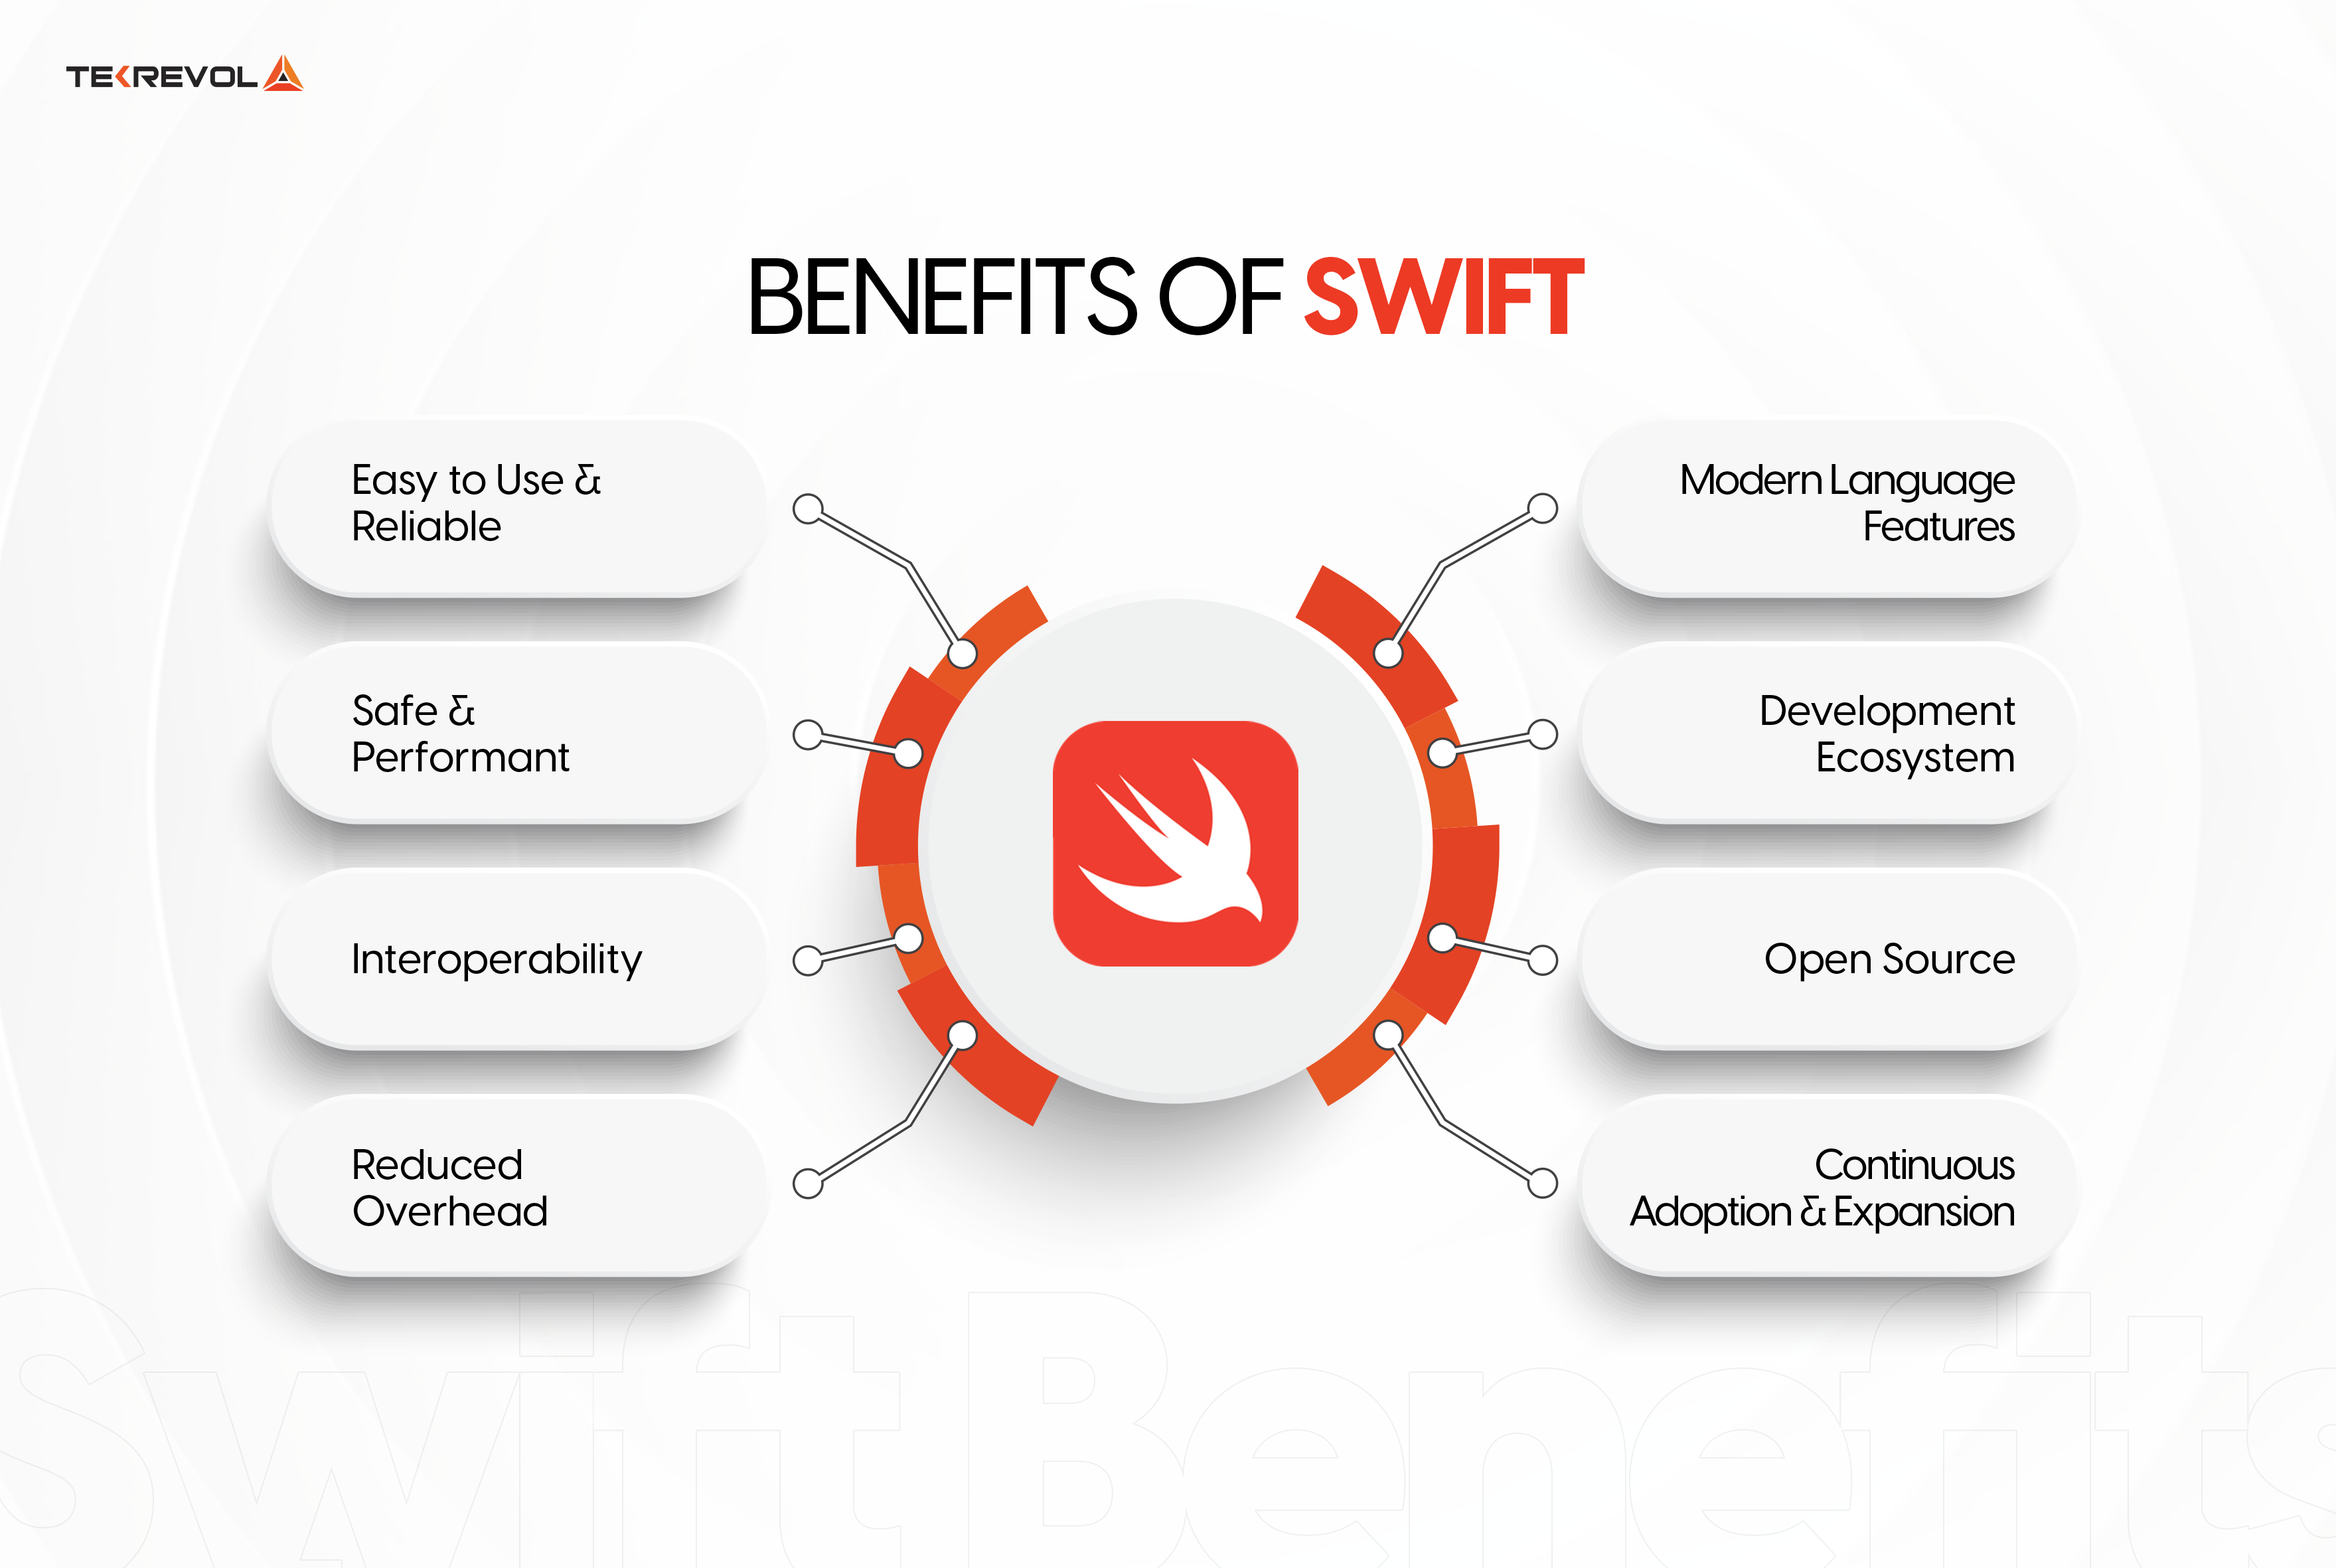
Swift is Apple’s powerful and intuitive programming language to build custom iOS, Mac, Apple Watch, and Apple TV applications. To make it accessible for all levels of developers Apple designed it to be easy to read and write.
Swift’s modern syntax and features such as type safety, optionals, and automatic memory management help developers write clear and concise codes in a secure environment. Being Apple’s official product, it is optimized for performance – which means faster builds in every development.
 To know more about how Swift is more reliable programming language for iOS development, let’s look at the comparison between Swift and Objective-C.
Goals of the Guide
This guide will help you understand Swift and develop a simple iOS app. We’ll learn about setting up the development environment, the basics of Swift, building user interfaces, managing data, networking, debugging, and finally, deploying your app to the Apple marketplace.
Prerequisites
What do you need to get started with iOS app development using Swift?
Noting much, just a basic understanding of programming concepts, although it’s not mandatory. A Mac computer and an Apple ID are essential to download and use Xcode that is the integrated development environment (IDE) we will use for iOS development.
Ready to build your first iOS app with Swift? Let’s begin setting up the base.
Understanding Swift Basics
Let’s break it down into two parts; syntax and programming framework.
Swift Syntax & Features
Swift’s syntax is designed to be clear and concise which makes it easy to learn and use.
Variables, which are used to store data that can change, are declared using the `var` keyword, while constants, which store data that does not change, are declared using the `let` keyword.
Swift is a strongly-typed language, meaning each variable must have a type, such as `String`, `Int`, `Double`, or `Bool`. This helps prevent errors and makes your code more predictable and reliable.
Control flow statements like `if`, `for`, and `while` allow you to control the execution of your code. Functions in Swift are defined using the `func` keyword and allow you to group code into reusable blocks. Functions can take parameters and return values, making your code modular and easy to test.
Object-Oriented Programming in Swift
Swift supports object-oriented programming, which helps organize and structure your code effectively.
Classes define blueprints for objects, and objects are instances of classes. Inheritance allows a class to inherit properties and methods from another class, promoting code reuse.
Polymorphism lets you call methods on objects without knowing their specific types at compile time, which increases flexibility and extensibility.
Swift protocol defines a blueprint of methods and properties that classes, structs, and enums can adopt.
This allows different types to share common functionality without requiring inheritance. Delegates are a design pattern where one object handles events or actions for another object, promoting the separation of concerns and code modularity.
Setting Up Your Development Environment
Install Xcode
Xcode is Apple’s official IDE for iOS app development. It includes everything you need to create, test, and debug iOS apps.
To install Xcode, open the Mac App Store, search for “Xcode,” and download it. Once the download is complete, Xcode will be installed in your Applications folder. Launch Xcode to complete the installation process.
Xcode is a comprehensive suite of tools comprised of a Swift compiler, an Interface Builder for designing your app’s user interface, and a simulator to test your app on different devices.
Overview of Xcode Interface
Getting familiar with Xcode’s interface is crucial for efficient development. Here’s a detailed look:
Navigator Area
Located on the left side, this area allows you to navigate through different aspects of your project. The most commonly used is the Project navigator, which lists all your project files.
Editor Area
This central area is where you write and edit your code. Depending on the type of file you open, this area can also show different tools, such as Interface Builder for storyboards.
Debug Area
Found at the bottom, this area displays console output and provides tools for managing breakpoints and inspecting variables during debugging.
Utility Area
Located on the right, this area contains various inspectors and tools. For example, when you select a UI element in Interface Builder, you can configure its properties here.
Let’s Create a New Project
Open Xcode
Launch Xcode from your Applications folder or the Launchpad.
Create a New Project
From the welcome screen, click “Create a new Xcode project.”
Select a Template
Choose “App” under the iOS tab and click “Next.”
Configure your project
Fill in the Product Name, Organization Name, and Organization Identifier. Ensure “Swift” is selected as the language. Select “Storyboard” as the User Interface.
Save the Project
Choose a location to save your project and click “Create.”
This setup will generate a basic app structure, including a storyboard file for your UI, and a view controller for your code.
Build Your First App With Swift
Now that you’re quite familiar with Swift as a programming language, let’s jump on to the development part.
Create a Basic User Interface
A visual editor integrated within Xcode is used to design the User Interface (UI) of Apple apps. When you open `Main.storyboard`, you are presented with a visual canvas where you can drag and drop UI elements like buttons, labels, and text fields from the Object Library onto your view controller.
Interface Builder provides tools for aligning and positioning elements to create a clean and professional design.
Auto Layout is a powerful constraint-based system that allows you to create responsive and adaptive UIs for different screen sizes and orientations. By setting constraints on your UI elements, you define rules for their sizes and positions relative to other elements or the superview. This ensures your interface has consistent breakpoints across Apple devices.
Connect UI to Code
To interact with your UI elements programmatically, you need to create outlets and actions. Outlets are references to UI elements in your code, while actions are methods triggered by user interactions.
In Xcode, open the Assistant Editor to display both your storyboard and view controller code side by side. Control-drag from a UI element in the storyboard to your code to create an outlet or action. This setup allows you to update the UI based on user input and handle user interactions efficiently.
Add Logic
Implementing logic in your app involves writing code in your view controller to handle user interactions and update the UI accordingly. Swift provides a rich standard library with built-in functions for common tasks, such as manipulating strings and arrays.
Create custom functions to encapsulate logic and reuse it throughout your app. This makes code more organized and easier to maintain.
Smart & Secure Data Management
It is important to add adequate data management functions with extended security to gain user trust and be successful on the App Store.
Use UserDefaults for Simple Data Storage
UserDefaults is a simple and effective way to store small amounts of data persistently, such as user preferences and settings.
To store data, you associate it with a unique key. For example, you can save the user’s preferred theme color or the last opened screen. Retrieving data is just as easy; you use the associated key to access the stored value.
If you need to remove the data, you can do so by specifying the key. UserDefaults is suitable for lightweight data storage, but Core Data is a better option for more complex data.
Introduction to Core Data
Core Data is a powerful framework for managing complex data models in your iOS app. It allows you to store, retrieve, and manipulate data using an object-oriented interface.
You can enable Core Data by checking the “Use Core Data” option when creating your project. This generates a data model file where you define your data entities, similar to tables in a database. Attributes of entities are similar to columns in a table.
Core Data provides a managed object context for performing create, read, update, and delete (CRUD) operations. This context acts as an interface between app and the database, allowing you to work with objects instead of raw data.
You can create new objects, fetch existing ones, update their properties, and delete them, all through the managed object context. Core Data handles the underlying database interactions, ensuring data integrity and performance.
- Need Help in iOS App Development Using Swift?
- Let our expert developers review your code.
Networking & APIs
Making HTTP Requests
Effective networking strengthens modern iOS apps to communicate with web services and APIs. Swift’s URLSession API provides a straightforward way to perform network requests and handle responses.
It’s essential to handle various types of responses like JSON data while creating HTTP requests. Swift’s Codable protocol makes it easy to decode JSON into Swift structures and allows you to work with data in a type-safe manner.
Handling JSON Responses
APIs often return data in JSON format. Decoding this JSON data into Swift objects requires structures that match the JSON’s schema and using the Codable protocol to handle the conversion. This approach ensures that your app can seamlessly integrate with web services and get real-time data to users.
Handling Errors
Proper error handling is crucial for a robust and user-friendly app.
Network operations can fail due to various reasons, such as connectivity issues or server errors. Implementing error handling ensures that your app effectively manages these situations by giving appropriate feedback to users and attempting to recover when possible.
Displaying Data in the App
Once data is fetched from a network request, displaying it in your app involves updating the UI. This is typically done using UI components like UITableView or UICollectionView, which allow for dynamic and flexible presentations of data. It’s important to update the UI on the main thread, as network operations are performed on a background thread. Ensuring UI updates happen on the main thread avoids concurrency issues and provides a smooth user experience.
Test & Debug
A thorough software quality assurance before the App Store rollout makes the iOS app fail-safe and future-ready. If an app performs well in the initial stages, user adaptation and chances of scalability increase. Let’s debug your app for secure deployment.
Debugging Tools in Xcode
Xcode provides comprehensive tools to help you find and fix bugs in your code.
Breakpoints allow you to pause code execution at specific lines, so you can inspect the state of your app and identify issues. The console provides detailed logging and debugging information, which is essential for understanding the flow of your program and diagnosing problems.
The Debug navigator in Xcode gets further insights about the call stack, threads, and memory usage to easily track down the issues. Additionally, Xcode’s Instruments tool allows for performance profiling, letting you analyze memory usage, CPU usage, and other metrics to optimize the app’s performance.
Unit Testing
Unit testing is fundamental in Swift software development for high-quality code and reliability. XCTest is Swift’s built-in testing framework to write and run unit tests for your code.
Writing unit tests involves creating test cases that validate the behavior of individual units of code, such as functions or methods. By writing tests that cover various scenarios and edge cases, you can verify that the code works correctly and catch potential bugs instantly.
Test-Driven Development (TDD)
Test-Driven Development (TDD) is where you write tests before writing the final code. This methodology encourages you to think about the desired behavior of your code upfront and ensures that your code is testable and modular.
The TDD cycle typically involves writing a failing test, writing the minimum code to pass the test, and then refactoring the code for clarity and efficiency. TDD helps create well-tested, maintainable code with fewer bugs.
UI Testing
In addition to unit tests, UI testing allows you to automate tests that simulate user interactions with your app’s UI.
Xcode’s XCTest framework supports UI testing to write scripts that interact with UI elements like buttons, text fields, and navigation bars. UI tests help ensure that the app’s UI behaves correctly across different devices and screen sizes. Optimal user experience across Apple devices.
Advanced Swift Features
Let’s level up the iOS app development process with Swift’s novel features.
Optionals & Error Handling
Swift’s optional type system is a powerful feature that allows you to represent both a value and the absence of a value. Optionals help handle situations where a value may or may not exist, preventing null pointer errors common in other programming languages.
Error handling in Swift provides a structured way to handle errors and exceptions, ensuring that your app can gracefully recover from unexpected conditions. The `try-catch` mechanism allows you to catch and handle errors to make your code more robust.
SwiftUI Overview
SwiftUI is Apple’s modern framework for building user interfaces declaratively. It allows you to describe UI using Swift code, eliminating the need for Interface Builder and storyboards in some cases.
SwiftUI provides a reactive and composable approach to UI development, where changes in data automatically update the UI. This declarative syntax makes UI code more readable, maintainable, and less error-prone.
Building Complex UIs with SwiftUI
With SwiftUI, you can create complex UIs by composing smaller views together.
For example, you can use `VStack` and `HStack` to stack views vertically or horizontally. SwiftUI’s layout system dynamically adjusts to content and screen sizes for consistent user experience across iPhone, iPad, Mac, Apple Watch, and Apple TV.
You can also add animations, gestures, and transitions to enhance interactivity and user engagement.
The App Store Rollout
It’s time. Let’s deploy your app on Apple Marketplace.
Test on Real Devices
Before deploying your app to the App Store, it’s crucial to test it on different devices for compatibility and performance.
Xcode allows you to register your iOS device for development to run and debug your app directly on the device. Testing on real devices helps uncover issues that may not be apparent in the simulator, such as hardware-specific bugs or performance optimizations.
App Store Submission Process
App Store submission has several steps to achieve standard quality and compliance with Apple’s guidelines. First, you need to create an App Store Connect account. Here you have to provide details about your app, such as its name, description, screenshots, and keywords. You also need to upload your app’s binary, generated by archiving your project in Xcode.
Once submitted, your app goes through a review process by Apple’s App Review team, which is checked for adherence to guidelines, functionality, and overall user experience.
Handling App Review & Update
During the app review, Apple may provide feedback or request changes to ensure your app meets their standards. Comply with the feedback promptly and resubmit your app for review.
Once approved, your app is published on the App Store, available to users for download. For subsequent updates, follow a similar process of archiving, submitting, and reviewing the app to release new versions with improvements or bug fixes.
Ready to Build Your App with Swift?
This comprehensive guide is a solid foundation in iOS app development using Swift. From setting up your development environment to building user interfaces, managing data, networking, debugging, and deploying your app, you’ve explored key concepts and best practices.
Swift’s modern syntax, powerful features, and Apple’s robust development tools like Xcode and SwiftUI have empowered you to create engaging and high-quality iOS apps.
As you continue with iOS development, remember to stay updated with new features, frameworks, and industry trends. Engage with the developer community, attend workshops and conferences, and explore Apple’s official documentation for in-depth knowledge.
Keep coding, learning, and building amazing experiences for users worldwide. Happy coding!
- Building an iOS App with Swift?
- For Better Support or Professional iOS App Development Get in Touch with TekRevol’s Experienced Team.