With the iOS ecosystem boasting 1 billion active iPhone users and generating $85 billion in revenue annually, there’s no better time to step into the world of app development. The best part? You don’t need to be a tech wizard to get started—all it takes is the right guidance and a willingness to learn.
With years of experience providing iOS app development services, we know how to simplify complex tasks. This comprehensive guide is your starting point.
Developing an iOS app doesn’t have to be overwhelming. In this guide, we’ll explore the prerequisites and break down the app development process step by step. So, let’s get started!
Step-by-Step Guide to Preparing for iOS App Development
Before proceeding with iOS app development, one should have some insight into the fundamentals and learn about the main programming languages, namely Swift and Objective-C. These foundations of iOS development can help you create highly effective and integrated apps. Let me discuss every element with examples of how to achieve them.
1. Mac System
Before you begin developing iOS applications, you’re required to have a Mac system to run macOS High Sierra with Xcode, Apple’s designated development tool.
Example: A Mac Mini is desirable for beginners because it costs relatively low. The 3.0 GHz Core i5 processor and 8 GB memory offer the acuity that is required to compile applications seamlessly. All you need is to plug the Mac Mini into your existing display and you are good to go.
For any professional consider the MacBook Pro equipped with improved hardware such as the M1 processor and 16 GB of RAM to multitask without any hitches by handling demanding projects.
2. Apple Developer Account
The next step for you is to sign up for an Apple Developer Account. This account provides access to items such as the Xcode, iOS Software Development Kit, Development videos, and Technical resources.
How to Register:
- Visit Apple’s Developer Website.
- If you do not have an Apple ID already, register for one to use any Apple products and services.
- Be sure to fill in all the personal details in your profile correctly.
- Instructions on how to do it are provided on Apple’s website, please do it this way step by step.
Example: To distribute apps through the App Store, you require a paid developer account which is $99 annually. This allows for the distribution of the app, and access to beta testing tools and analytic tools.
3. Installing Xcode
Xcode is Apple’s Integrated Development Environment used for developing applications for iOS and macOS platforms. It is a versatile tool that is used to design interfaces and to write code and debug applications.
Features of Xcode:
- Interface Builder: Application that permits the user to select and place objects onto another surface.
- Swift Playgrounds: Run test code snippets with interactivity.
- Simulators: After you have developed and written the code for your app you should run and test your app on virtual devices.
Installation Steps:
- Launch the Mac App Store: Locate the symbol of the Mac App Store on the dock. Make sure you have the up-to-date macOS version, if not – download the latest version.
- Search and Download Xcode: Search for “Xcode” in the search bar, and hit the download button.
- Install and Launch Xcode: After the download is done, an icon labeled Xcode will be found on your Launchpad. Open it, and you are set to go and start creating the application.
Example: To test the application with various simulated Apple devices, you can use Xcode’s Simulator without owning the physical device, it may be the iPhone 14 Pro or even the iPad Air.
4. Programming Knowledge
Swift is essential for the modern development of iOS applications. Objective-C is well suited for picky programmers while Swift is an easy-to-adapt, fast language ideal for creating apps.
Example Code in Swift:
import UIKit
class ViewController: UIViewController {
override func viewDidLoad() {
super.viewDidLoad()
print(“Welcome to your first iOS app!”)
}
}
This is a simple code snippet on setting up a view controller, to serve as the basis for the interface of your app.
Although knowledge of Objective-C can be quite beneficial for legacy projects or advanced functionalities, it’s not necessary for new apps.
5 Easy Steps to Get Started with iOS App Development
Planning to develop your first iOS application? Here’s your step-by-step guide to developing, testing, coding, submitting, and distributing your app, which is written in simple non-techie language. Let’s dive in!
1. Set Up Your Development Environment
The first thing that you need to learn in creating an iOS app involves how to set up your workspace. You will require Xcode which is Apple’s development software and can be obtained from the Mac Application Store.
Pro Tip: Try using the most updated tools such as Xcode 15 if you want to get the most from the development tools.
After downloading DIA, you should take a little time to familiarize yourself with its layout. This is where you will build, write, and debug your app so being comfortable with it is going to pay off.
2. Register for an Apple Developer Account
However, to be able to test your application on real devices and to distribute it in the App Store in the end, you will require an Apple Developer Account.
Options:
Free Tier: Most applications are quite simple but useful for practice as well as practicing on simulators.
Paid Tier ($99/year): It provides all the access to features such as app distribution and beta testing tools.
Quick Tip: The registration must be made through Apple’s official developer website. One has to create an Apple ID and fill out some details.
3. Design Your App’s User Interface
Now that your tools are set, it’s time to paint the picture of your app. Go to Xcode, start a new project, and utilize Xcode’s built-in Storyboard Editor to build the desired appearance of your application.
Use basic UI widgets such as buttons, labels, and images by dragging and dropping them on the screen. From such elements, you can arrange and optimize those components so that they meet the intended purpose of the app.
Example: If you are developing a to-do list app, you may include text input for entering tasks, a table view to receive them, and a button to append new values.
4. Write Code with Swift
While a pretty UI is great, functionality is what makes an app useful. Enter Swift, Apple’s preferred programming language for iOS development.
In Xcode, open the ViewController.swift file to write your app’s logic.
Example Code:
Here is a simple snippet to display “Hello, World” in a label:
@IBOutlet weak var greetingLabel: UILabel!
override func viewDidLoad() {
super.viewDidLoad()
greetingLabel.text = “Hello, World!”
}
This code sets up a label in your app to display the greeting when the app launches.
5. Test and Deploy Your App
When you install Xcode, it has a feature called the Simulator where you can preview how your app looks on iPhone or iPad devices. However, testing on a real device is beneficial as it helps you identify any issues associated with that particular hardware.
How to Test on a Real Device: If you own an iPhone or an iPad, you can connect the device to the computer using the USB cable, then set it as the active target on Xcode and run your app.
Deploying to the App Store
- After your app gets developed and tested, it becomes ready for publishing or release.
- Check the App Store Review Guidelines to check that Apple’s guidelines are being followed.
- Submit your app with great icons and screenshots, describe it in detail, and provide other metadata.
- Upload your app through SSC or Xcode. Apple will scrutinize it then, and once they approve it, your app will be in the App Store instantly!
- Need help creating your iOS app?
- We provide expert iOS app development services to make it happen.
Top iOS Libraries to Enhance iOSApp Performance
Developing an iOS application is a process, however, with the help and support of certain libraries the process becomes easier and the application’s performance is enhanced. Here’s a rundown of some exceptional libraries every iOS developer should consider for their next project:
1. Alamofire: Streamline Networking Efforts
Alamofire makes networking communication to the device easy because it provides an easy way to deal with Apple’s URL loading protocol. It provides a fresh interface that allows developers to maintain a smooth interface when working with issues such as API requests and JSON interpretation together with server connections.
Why Use Alamofire?
- Reduces the complexity of HTTP requests and responses
- Ease of switching the object’s JSON representations into objects and vice versa
- Sophisticated features such as SSL pinning and request routing
- Writing tests for validation with Codable for further data modeling.
- Exploring the role and effectiveness of monitoring the reachability of networks
Best For: Applications that mostly use APIs like data-centric applications or applications that use file upload and download techniques.
2. Realm: Simplify Offline Data Management
Realm is a small, fast, and real-time database system developed for today’s applications. The API is quite simple and it facilitates the handling of offline data alongside, and real-time synchronization across devices is also achievable with it.
Key Benefits:
- Cleaning the syntax for creating, reading, updating, and deleting records
- The compatibility of different platforms (IOS, Android, and others).
- Fully real-time data update and data synchronization
- Compatibility with reactive libraries such as RxSwift
Best for: Any application that does not use cloud storage but instead relies on one or more local databases for data management, such as big data, or apps that require real-time updates, such as task managers, financial trackers, etc.
3. SnapKit: Simplify Auto Layout Code
SnapKit is a DSL that provides a new approach for programmatic UI in iOS. It uses modern syntax to replace the very long Auto Layout code and thus makes the development process faster and layouts more manageable.
Advantages:
- Usability of the two-tier constraints through a clean and elegant syntax
- Complete compliance with features which are provided by Auto Layout
- Reduces boilerplate code
- Proper and secure type checking.
Best For: Designers to create dynamic layouts that need to be precise using programmatic directions.
4. RxSwift: Embrace Reactive Programming
RxSwift is a reactive programming integration for iOS development that provides solutions to manage asynchronous processes and event-oriented structures.
Core Features:
- Synchronization patterns to monitor asynchronous data flows
- Discontinuous operators for data transformation
- Maintenance and Incorporation with UIKit for reactive UI management
- Characterized by an extensive set of debugging options
Best For: Apps that have complex asynchronous tasks, like media streaming, chat apps, and programs that need real-time information.
5. Kingfisher: Efficient Image Management
Kingfisher is quite a powerful library to work with images in iOS applications. It saves time on many activities such as downloading, caching, and displaying that would otherwise take a lot of time.
Features to Highlight:
- Image downloading and caching occur at distinct time intervals.
- Enhanced caching methods to increase performance
- A comprehensive suite of operations for working with photos, including resizing, cropping, and filtering.
- Their core role is to connect seamlessly with UIImageView.
Best For: Applications that heavily use image processing such as online shopping, social media, and news streaming apps.
6. Lottie: Elevate Visual Appeal with Animations
Lottie is developed by Airbnb and helps developers implement complex animations that are exported from Adobe After Effects. This is a significant library for creating beautifully designed and interactive user experiences.
Why Choose Lottie?
- Best Quality Vector Animations for Smooth Execution
- Cross-platform support to ensure design consistency
- Easy integration through JSON
- Customizable and interactive animations
Best for: Apps that want to engage the user using animations in terms of onboarding experience, loading screens, etc.
- Looking for hands-on support for your iOS project?
- We help you with expert guidance and practical solutions.
Tips to Accelerate Your iOS App Development Journey
Since learning iOS app development does not necessarily have to be complicated, one can pursue it. However, with proper strategy, methodologies, technologies, and strategies anyone or any company can learn and master it more effectively. Here’s a guide to help you navigate the learning curve with ease:
Define Your Goals
First, you have to define what it is that you are trying to accomplish before getting into iOS development. Are you developing an application for commercial use, considering a new career choice, or using social media for personal learning? By identifying your objectives it becomes easier to maintain obligation and passion in your learning objectives.
Example: If you’re building a fitness app, that’s what features like activity tracking, calorie counting, and goal setting are about. Knowing that helps you to focus on what tools you’ll need to learn, such as core motion for activity tracking.
Learn the Basics of Swift
Swift can be considered as the fundamental tool in iOS application development. To begin with, one has to be familiar with its syntax, variables, and functions together with object-oriented concepts. Tools such as Swift Playgrounds can be recommended to learn coding; it is an interactive tool designed for new coders.
Get Hands-On Experience
The best approach to learning is the practical one. Start with simple apps like the to-do list app or calculator to understand how the application is created. Once you feel more comfortable, attempt to create increasingly complex apps or clone apps to see how they are made.
Use Pre-Built Templates
To beginners, there is nothing as sweet as using ready-made iOS app templates for your iPhone application. These templates are easier for you to work with since they establish the basic framework for you and you only need to spend time adding variations to various features.
For example: Download an open-source app template for a weather app. Customize its features rather than making everything from the ground up. This can be done by changing the background theme or adding a new weather API.
Enroll in Online Courses
Organized courses that are offered online can help you learn as quickly as possible. Udemy, Coursera, and RayWenderlich are websites that provide guidelines for beginners, intermediates, and professionals. Lastly, Apple’s official material is very helpful in understanding the recommended practices and tools such as X-code and Swift.
Consider Joining a Bootcamp
If you want to have a more strict program and more hours spent on coding, then you might want to try coding bootcamps. Such programs are intended to help you get started with learning iOS development in a time-bound fashion accompanied by mentorship as well as projects.
Leverage Community Support
The developers who target iOS are surrounded by resources and support. Software development forums such as Stack Overflow, Q&A sites such as Reddit, coding hosting services such as GitHub, etc, However, one must attend local meets or participate in online groups for developers.
Example: Post a question about integrating Google Maps in your app on Stack Overflow. The community can guide you through the process or suggest helpful resources.
Master Debugging Skills
Every developer should know how to debug. Familiarize yourself with Xcode debugging tools immediately to debug as soon as you notice a problem. This will help you avoid being frustrated because the work does not go as planned.
Keep Learning and Stay Updated
The technologies are evolving extremely fast and iOS development is no exception to the rule. The best way to do this is to read various blog posts and resources about iOS collection, podcasts, and channels to learn about all the tendencies, tools, and updates.
Build a Scalable and Secure iOS App with TekRevol.
So if you are all set to implement your iOS app idea, this guide will immensely help you. Creating your first iOS app can be a fun and fulfilling endeavor. With this guide, you will be able to convert your idea into a working app on the App Store.
As every app developer knows, the key to success is to keep going and to try new approaches at every step of the process. If you are searching for professional assistance, try outsourcing with the best iOS app developers.
TekRevol is a leading Mobile app development company in Miami, and our prime focus is to make your app dreams come true. Our team of iOS developers is here to ensure your app’s successful launch and growth by offering a FREE consultation.
We have a team of app developers in Miami, who have developed over 100+ successful iOS applications; thus, we can be considered to be leaders of the iOS project market segment.
From initial app development to configuration, coding, comprehensive testing, and deployment, TekRevol provides customized solutions for mobile application development services. Our experienced developers and designers strive to collaborate with you to develop applications that not only answer your requirements but your needs too.
Throughout the years, we have successfully developed a portfolio that supports creating highly effective mobile applications on time and under cost.
- Want to launch an iOS app that stands out?
- We help you at every stage of development with expert solutions.


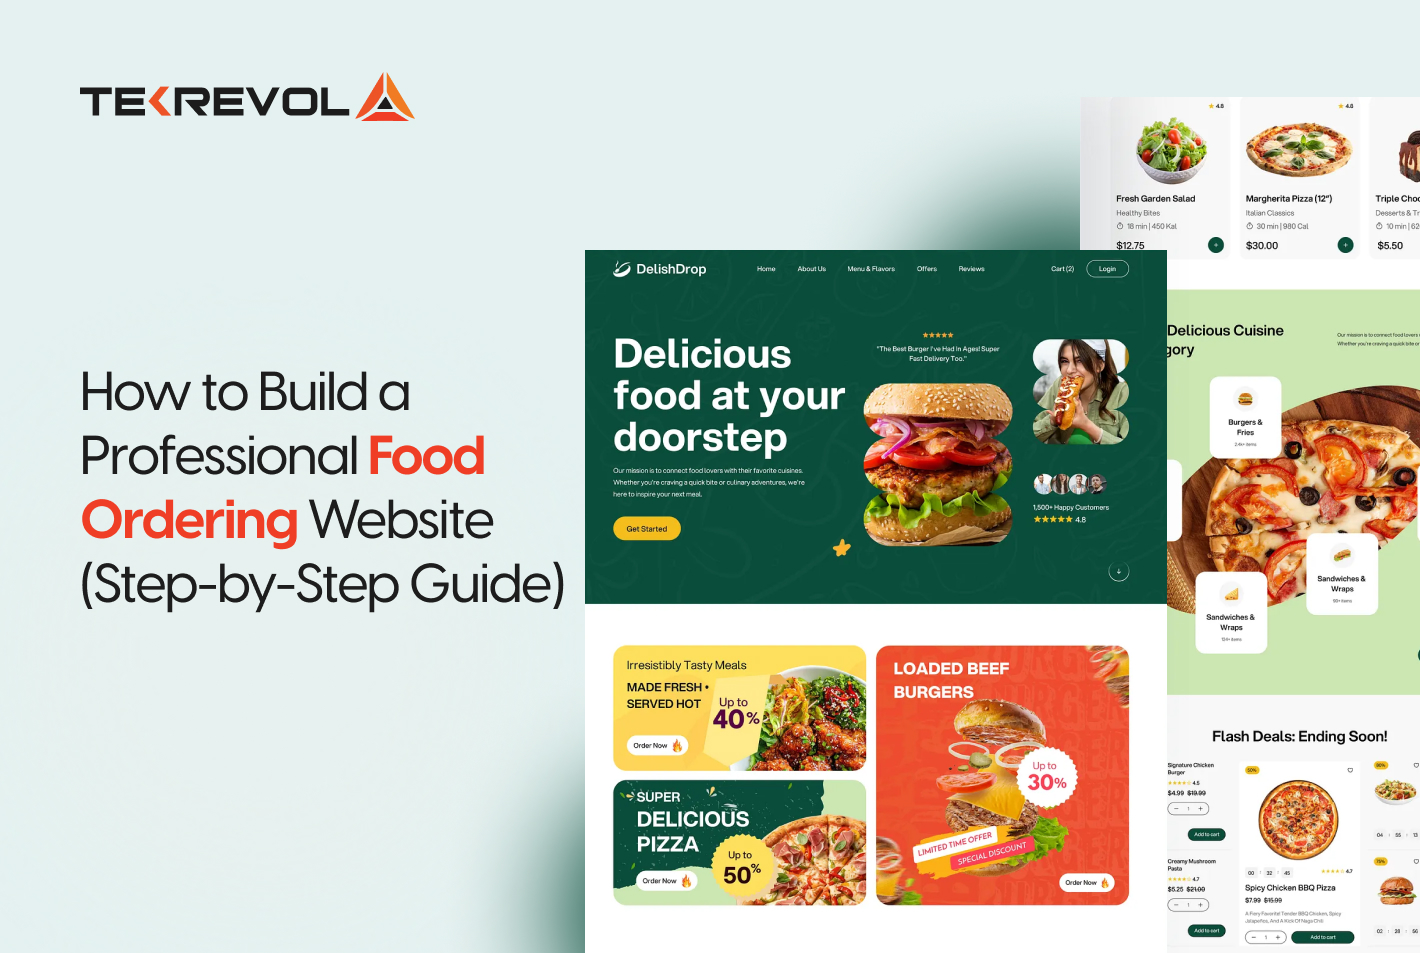
![How Much Would It Truly Cost to Develop a Food Ordering Website? [2026 Analysis]](https://d3r5yd0374231.cloudfront.net/images-tek/uploads/2026/03/Tek-Feature-7-1.jpg)